My goal was to generate a mask from the features of a level,which could then be used to control the parameters of a landscape material.
The mask, which looks like this:
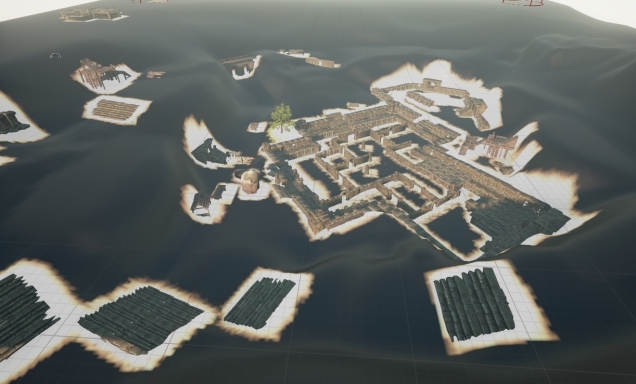
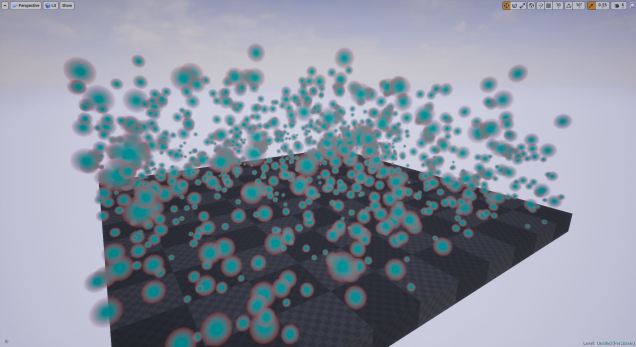
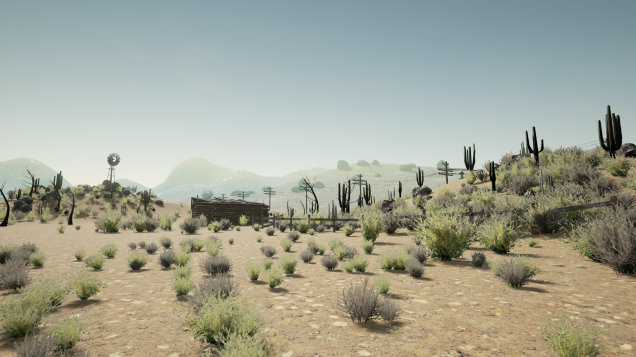
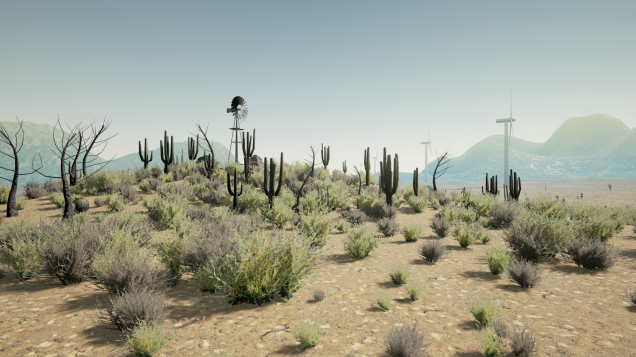
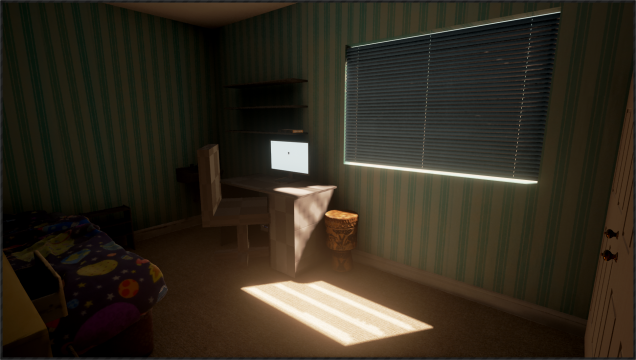
Is used to create an effect like this:
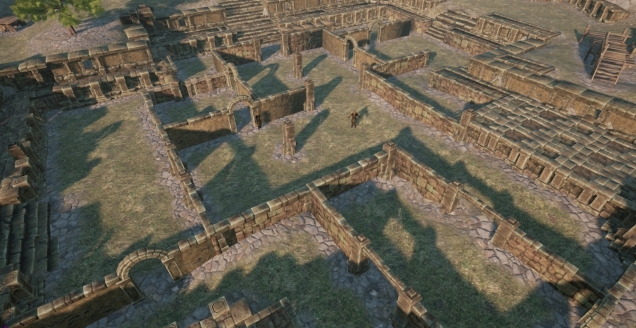
This is a very basic example of how I have used the technique, but the same method could be used to :
⦁ Blend Static Meshes into terrain
⦁ Automate Snow/Rain/Dirt/puddle buildup
⦁ Melt Snow in sunlight
⦁ Burn/Melt the ground from magic effects and characters
⦁ Sand Dunes Pile up from a prevailing wind direction
⦁ Grass/Moss/Foliage Spreading
You are only limited by your inventiveness!
So without further ado:
This guide will focus on creating masks from staticmeshes to control how materials and displacement maps are applied to a Landscape. So without further ado:
Ingredients
⦁ Scene Render Capture 2D
⦁ Texture Render Target
⦁ Material
⦁ Landscape
⦁ Some Static Meshes
Step 1. Setting up the Material
Set the material to “Use Material Attributes”, and then create a “Mat Layer Blend Standard”. This node blends two materials using a heightmap as a mask for the second layer. Create two “Make Material Attributes” Nodes, and set these up as would for a standard material, Create a “Landscape Coords” node and set the mapping scale to 1, and plug it’s downstream pin into the “uv” pin of each texture node. Notice that the “make material attributes node is almost identical to the regular Material Output node, except that they have downstream pins which can be plugged into the “layer blend” node. Plug the output of the “layer blend” into the “Material Output” node. You should notice that the preview will now display the material plugged into the “base” pin of the “layer blend.”
Step 2. Prepare the level
Create or import a landscape heightmap, this does not need to have any height information. Apply the previously created material to the landscape. Place Static Meshes “these can be anything” around the level, you can scatter them, or place them as if you were building an actual level. Import a skylight so that you can see the level with basic lighting
Step 3. The Scene Render Capture and Target
Create a Texture Render Target.
You will need to make some modications to the default render capture, so begin by making a child or a copy. Now, edit the properties of the render capture so that it does not capture a render every frame. Click “show flags” and uncheck every box apart from “static meshes”, “landscape” and “skylight”, set the field of view to 1. Rotate the scene render capture so that it is facing down, add a static-mesh plane, set it’s scale to 10000set it to -10000 in the Z-axis, and apply an unlit black material to it, this creates the “black” part of the mask. Add an editable “landscape” variable, and two floats. Now in the construction script, set the x and y coordinates to be at the center of the landscape. Minimize the blueprint and go back to the main window. Set the target of the render capture to the “texture target” you created previously. Increase the “height” variable in the render capture until the landscape fills the texture target with no white borders. Now uncheck the “show landscape” flag.
Step 4. Using the mask in the material
Drag the “render target” into the material, and plug the output pin into the “alpha” channel of the mat layer blend. Create a “landscape coords node” and set the mapping scale to match the resolution of the landscape. Now if you go back to the editor window, you will notice that the second material layer has been applied somewhat randomly to the landscape below. there is a simple fix for this however! Left click on the scene capture actor, and change it’s rotation in 90 degree increments until you find a rotation where the pattern lines up with the static meshes underneath. If this is not perfect, you may want to adjust the height of the scene render capture slightly or change the mapping scale slightly in the material node.
Step 4. Dilating the mask
So far so good, except the mask is not actually very useful because the area that it paints is primarily hidden beneath all of the static meshes. To get around this, we need some way of expanding the mask so that it bleeds out from the static meshes, ideally with a gradual falloff. Instead of blurring the mask in the material, which would require more instructions and potentially some custom code, lets head back into blueprints.
Toggle off “capture on movement” in the scene capture actor, and now back in the construction script, create a branch node with an input boolean variable called “recapture mask” set to “false” by default, and then from the truth node create a node which sets “recapture mask back to false”, now from the “render capture” object, drag out a pin and set the capture mode to “additive” after that make a “for loop” and set the first index to 0 and plug in a variable called “exposure” to last index. Inside the loop, trigger a render capture. From the “complete” pin of the loop set the capture mode back to “replace” This allows us to trigger when the render capture is fired, and to set the number of frames that should be added together to produce the final mask. The on completed node “replace” ensures that when we tick “recapture mask” the results of the new capture replace the old rather than adding them together.
Inside the for loop, after each capture, add a random vector within a range “blur amount” to the location of the scene capture component. This will jitter the camera, and with a high number of exposures will emulate a blur effect.
Conclusion
This method is cheap and effective. The quality of the mask can changed by scaling the size of the texture render target, and by increasing the number of captures that are blended together using “exposure”. The amount of dilation/blur is controlled by the paramater blur amount. Any masks created this way can Saved, exported and edited in an external program.
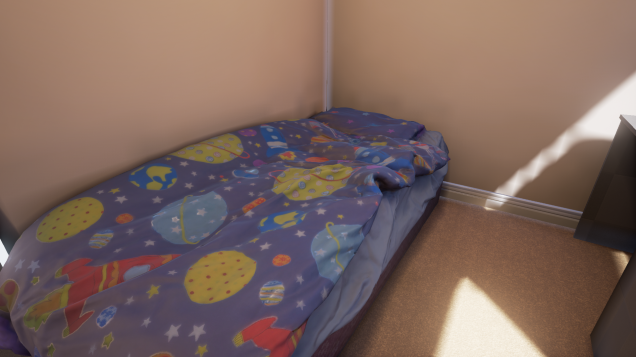
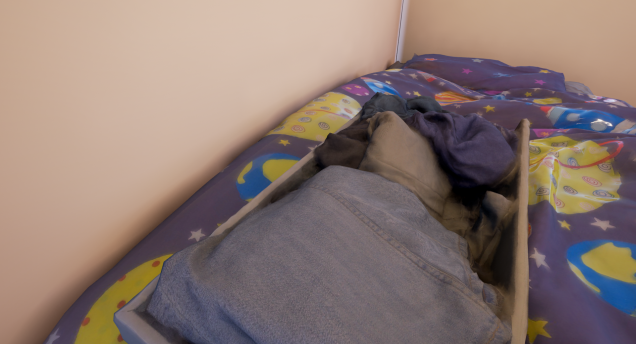
This method would require some modifcation for widespread use in interior scenes. It would also require some modification in order to capture specific types of meshes. But those steps are a little outside the scope of this simple tutorial, so I will leave them for another time.
I hope that you have found this tutorial helpful, if you can think of any exciting ways of using this technique please let me know and if I have not been clear enough on any details don’t hesitate to leave a comment.